Saturday, April 8, 2017


Cardboard Telescope Tripod Part 3 (Braces)  

2017 VBS Galactic Starveyors 

Soon I will mount a telescope to the top of the tripod to complete it, but first I must put the head from part 1 and the legs from part 2 together so they'll stand. 


DIY Galactic Starveyors telescope tripod


I glued the legs to the inside of the head.


At this point it stood on its own, but I knew it would not hold up to a lot of weight or being moved around.


I measured from the floor up 12 inches and made a mark, then I measured across the legs from mark to mark and discovered the distance was about 12 1/2 inches from leg to leg.


I added 2 inches to that measure, one inch for each end, and drew three strips that where four inches wide with a fold line in the center. I cut them out, scored them and folded.


Now I held these strips inside the legs and made a mark. Then I held them outside the legs and made a mark.  This gave me a pretty good idea of the angle I needed to glue the braces to the legs.


The marks were both on one side of the strip (brace) so I had to transfer the outside mark to the fold side.  I drew an angled line connecting the two marks. This line would become a fold line.


Now I cut along the fold, the small distance from the line I just drew to the end of the braces.


I scored and folded the angled line all the way back and cut off any cardboard that was over the fold.  In the photo you can see a dotted line where I cut.  I repeated this with all three supports and at both ends.


I held the brace back up to the legs and found the approximate angle I would need to fold the remaining section of the end so that it hugged the leg.


This made a triangle that would hug the inside of the leg and a flap that would fold over the outside of the leg.


I used hot glue on the outside of the triangle and on the inside of the flap.


I held it secure while the glue cooled.


I did this for all three braces.


Last I cut an a small piece to cover the where the two flaps where glued to the leg, and glued it in place to cover them both.


Now, I have a tripod. In the next and final step I'll mount a cardboard telescope, and be ready for paint. 

All content and information I present on this blog is intended for entertainment only and is presented “as is”, without claims or warranties of any kind, express or implied. I am not an expert of any kind; I just figure out how to make and create projects and I am willing to share that information. USE THIS INFORMATION AT YOUR OWN RISK! USE OF THIS INFORMATION CONSTITUTES AN AGREEMENT BY THE READER TO ASSUME ALL RISKS! The reader’s interpretation and application of this information shall be the reader’s sole responsibility. The reader agrees to hold harmless the author and publisher and therefore in no event shall the author or publisher be liable to the reader or any third party for any damages, claims, expenses or other costs; including, without limitation, legal fees arising from or in connection with the use of this information. The reader further agrees that their sole and exclusive remedy is to discontinue use of this information. I hold the copy right to the content if this blog and it may be used only with my permission. Your personal or contact information will not be shared with anyone, by me. I am not responsible for what the publisher or any of its partners do with your information. I reserve the right to change, close, sell or change the terms of use for this blog at any time. I am not responsible for any of the behavior or products presented by advertisers or sponsors in connection with this blog. If you wish to ask a question you may email me, however, I check my email about four times a year so a comment may work better. Please understand that any comments or emails sent become my property to use as desired.


Friday, April 7, 2017

Easter yard decorations - Carrots. 


Easter yard decorations giant carrots

I wanted some giant carrots to put in the yard with my other Easter decorations, and this year I figured out how to make them.  I know they look like upside down 2 liters, but until I discovered a suitable replacement.  Here is a link to the rest of the decorations before I installed the carrots.


Here is a view of the tools and materials I used. 


I measured the diameter of the 2 liter bottle. Since it was 4 1/4 inches, I sent the compass to 2 1/8 inches and drew a circle on a quarter inch thick piece of plywood.


I drilled two 1" holes, one for the light and one for the post that will hold the carrot in place.


Now I cut out the circle.


I trimmed off the bottom of the 2 liter bottle.


I drilled a hole through the bottom that was large enough for the sprig I purchased for the top of the carrot.


I pushed the wood disc into the bottom of the bottle and secured it with a few staples.


Time to make it orange.


I pushed the sprig into the hole, and
used a Sharpie to draw some carrot texture.


Then I drove a small pole (3/8" rebar) into the ground, installed a night light and dinner is served.


All content and information I present on this blog is intended for entertainment only and is presented “as is”, without claims or warranties of any kind, express or implied. I am not an expert of any kind; I just figure out how to make and create projects and I am willing to share that information. USE THIS INFORMATION AT YOUR OWN RISK! USE OF THIS INFORMATION CONSTITUTES AN AGREEMENT BY THE READER TO ASSUME ALL RISKS! The reader’s interpretation and application of this information shall be the reader’s sole responsibility. The reader agrees to hold harmless the author and publisher and therefore in no event shall the author or publisher be liable to the reader or any third party for any damages, claims, expenses or other costs; including, without limitation, legal fees arising from or in connection with the use of this information. The reader further agrees that their sole and exclusive remedy is to discontinue use of this information. I hold the copy right to the content if this blog and it may be used only with my permission. Your personal or contact information will not be shared with anyone, by me. I am not responsible for what the publisher or any of its partners do with your information. I reserve the right to change, close, sell or change the terms of use for this blog at any time. I am not responsible for any of the behavior or products presented by advertisers or sponsors in connection with this blog. If you wish to ask a question you may email me, however, I check my email about four times a year so a comment may work better. Please understand that any comments or emails sent become my property to use as desired.

Friday, March 17, 2017

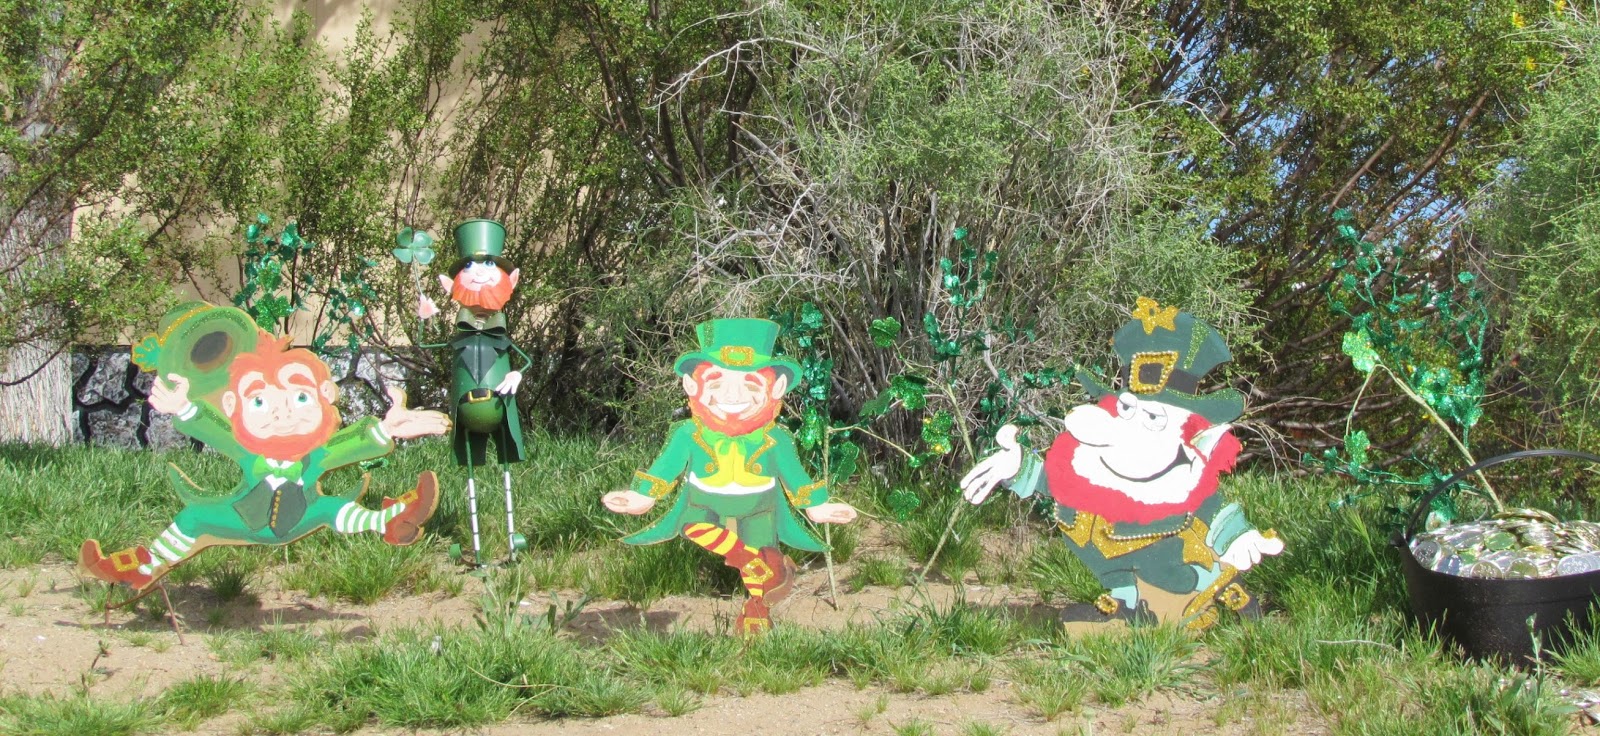
 St. Patrick's Day decorations

 Here is a shot of the little guys I put out each year.  My goal is to someday have 20 of these leprechauns with a sign that reads, "Find all 21 Leprechauns!"
St Patrick's Day decorations

Saturday, January 28, 2017

2016 Outdoor Christmas Decorations

Here is a link to the YouTube video of this year's outdoor Christmas decorations. 

And a few photos here below.


2016 Coyote Ornaments

Instructions about how to make these ornaments is posted in August of 2016.

Here are a few of the 26

Santa Christmas ornament in a gourd

victorian Christmas ornament in a gourd

polar bear Christmas ornament in a gourd

Christmas ornament in a gourd
ornaments we made this year.

Instructions about how to make these ornaments is posted in August of 2016.
Here is the outside of one.
gourd Christmas ornament